

The Automata Room
Frostwing Crystal Studio

Multipliers
High volatility
If you like…
Chosen by what they genuinely share with Glass Menagerie: its room (The Automata Room), its technique (sticky and hold), its brushwork (bold strokes) and the collections it hangs in.
The Automata Room
Multipliers
Room III · The Automata Room
Why: same room, same brushwork, and both in “Glass and crystal”.
A snow leopard sculptor opens a central 3×3 ice block and reveals one giant resolved emblem.
The Automata RoomNew
Picks, wheels and mysteries
Room III · The Automata Room
Why: same room, same brushwork, and both in “A bold evening”.
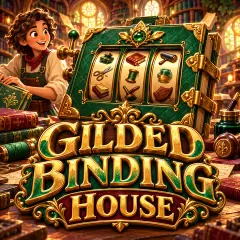
A bookbinding bench stamps roaming stories into emerald covers with brass clasps.
The Automata Room

Cascades and clusters
Room III · The Automata Room
Why: same room, same brushwork, and both in “A bold evening”.
Set a cheerful woodland contraption humming with possibility.
Antiquities

Picks, wheels and mysteries
Room IV · Antiquities
Why: same brushwork and both in “Small canvases: three-line studies”.
Snowy peak signal tower
Nocturnes

Sticky and hold
Room I · Nocturnes
Why: same technique, same brushwork, and both in “Small canvases: three-line studies”.
Northern lights and floating archive vaults
The Automata Room
Picks, wheels and mysteries
Room III · The Automata Room
Why: same room and both in “Small canvases: three-line studies”.
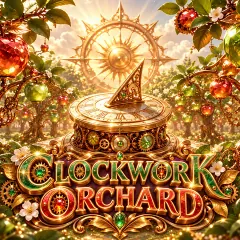
Jewel fruit and copper branches
The Automata Room

Cascades and clusters
Room III · The Automata Room
Why: same room and both in “Glass and crystal”.
Align forgotten crystal shapes in a chamber full of quiet magic.
The Automata Room
Expanding and shifting
Room III · The Automata Room
Why: same room and both in “Glass and crystal”.
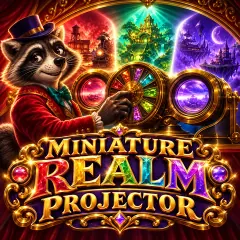
A raccoon projectionist clicks one crystal view disc and aligns the returned field into focus.